
Welcome to my newest quilt pattern, the Taylor Swift – Speak Now (Taylor’s Version) quilt. As usual, this pattern was originally drafted for my personal use so not optimally designed for user experience, but always willing to polish it up nice and share to fellow quilters. Thank you for all your support on the Eras Tour quilt pattern, the SN(TV) quilt is smaller and took me 2 weeks from design to finish so maybe a more doable quilt as a quick project. It’s free of charge but I do accept donations on Ko-Fi.
Here’s the video of me creating this quilt. Not meant as a tutorial, but may be helpful for visualising all the steps.
Printing
The quilt will be around 95cm*95cm/35″*35″. Explanation of FPP not included, so FPP experience is recommended.
There are NO seam allowances in this pattern so keep your ¼ ruler handy!
The PDF file is converted to US Letter. But no worries for A4 users (like I am), you can either change the printer settings to US letter to keep the original size and have slightly smaller margins to tape the pattern together, or just print the file on A4 with A4 settings, this will make the quilt slightly smaller!
After printing the files, tape the pattern together. I didn’t number the pages, but there should be enough lines to find connecting points. You can either tape it with a sewing machine friendly method (glue stick, painters’ tape) and use the pattern as the one you sew through, or trace the pattern to add seam allowances and to reuse the pattern again in the future. I recommend the latter if you struggle with lines not matching up or don’t want to sew through tape.
Things to consider
When I drafted this pattern, I tried to do it in as little amount of sections as possible to save some time. I underestimated the difficulty to work with big, loose pieces of fabric, as normally in FPP, the small pieces being sewn onto the paper stabilises the fabric. With some pins, you can sew this pattern as is but if you’d like to stabilise the fabric more often, feel free to draw in extra lines that don’t touch the last sewn line. This is also handy to use up smaller pieces of fabric.
I left in the lyrics of ‘Enchanted’ and ‘Long Live’ for those that would like to also quilt the lyrics. This is obviously an optional step. (Printing wise also a useful way to line up the paper sheets) If you’d like to make use of the lyrics as a quilting guide, trace over the lyrics with a dark marker, preferably before piecing to avoid ink bleeding onto your fabric. Lightbox is recommended, I’ll go further in detail later on. The lyrics are close to the edge, so thinner binding or sashing is recommended.
As usual, I use raw edge appliqué for the facial features to make up for my lack of FPP drafting skills 🙂 If you’d like to make the appliqués too, trace the blue lines onto double-sided interfacing and set this aside for after the piecing step. I will say that my quilts are used as decor so not washed, so I don’t know how the appliqués will look like after a wash. This quilt does work well without the appliqué too, making the album cover still recognisable.
Color Key
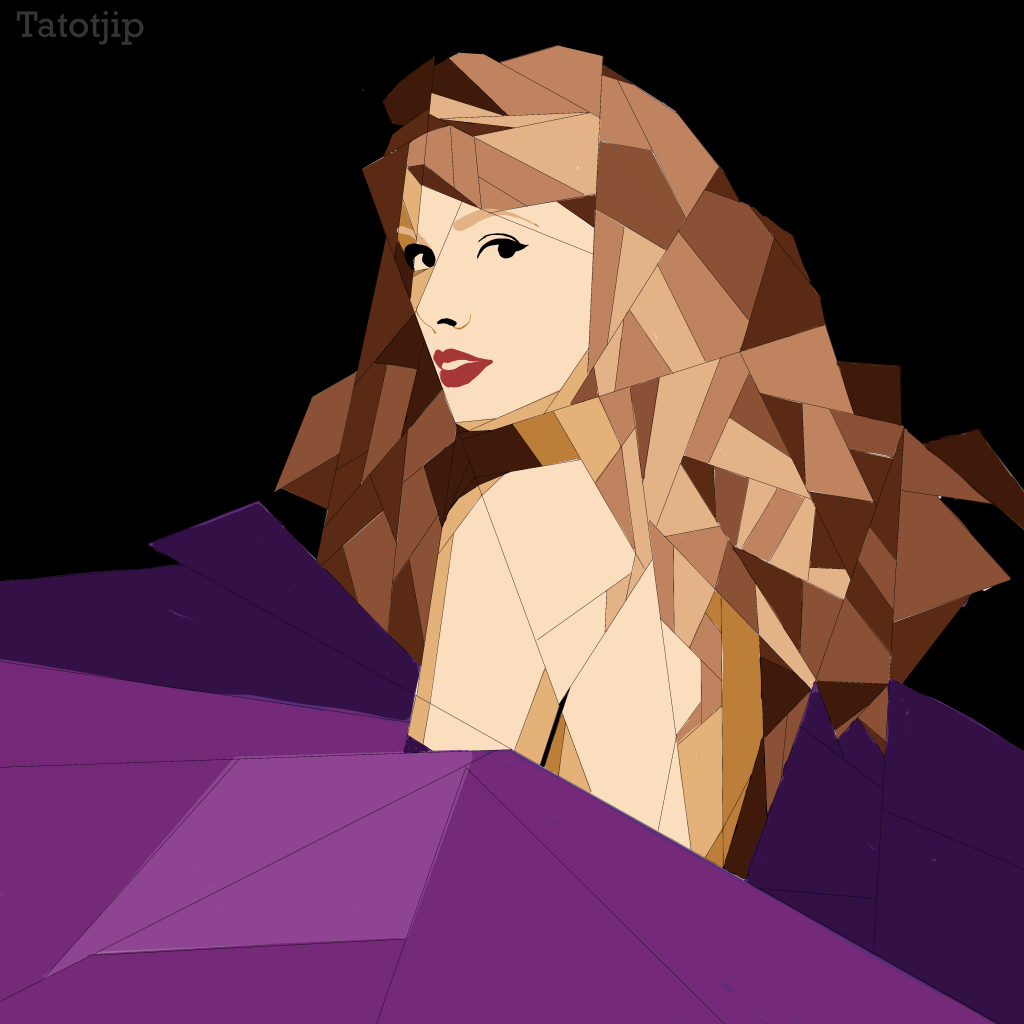
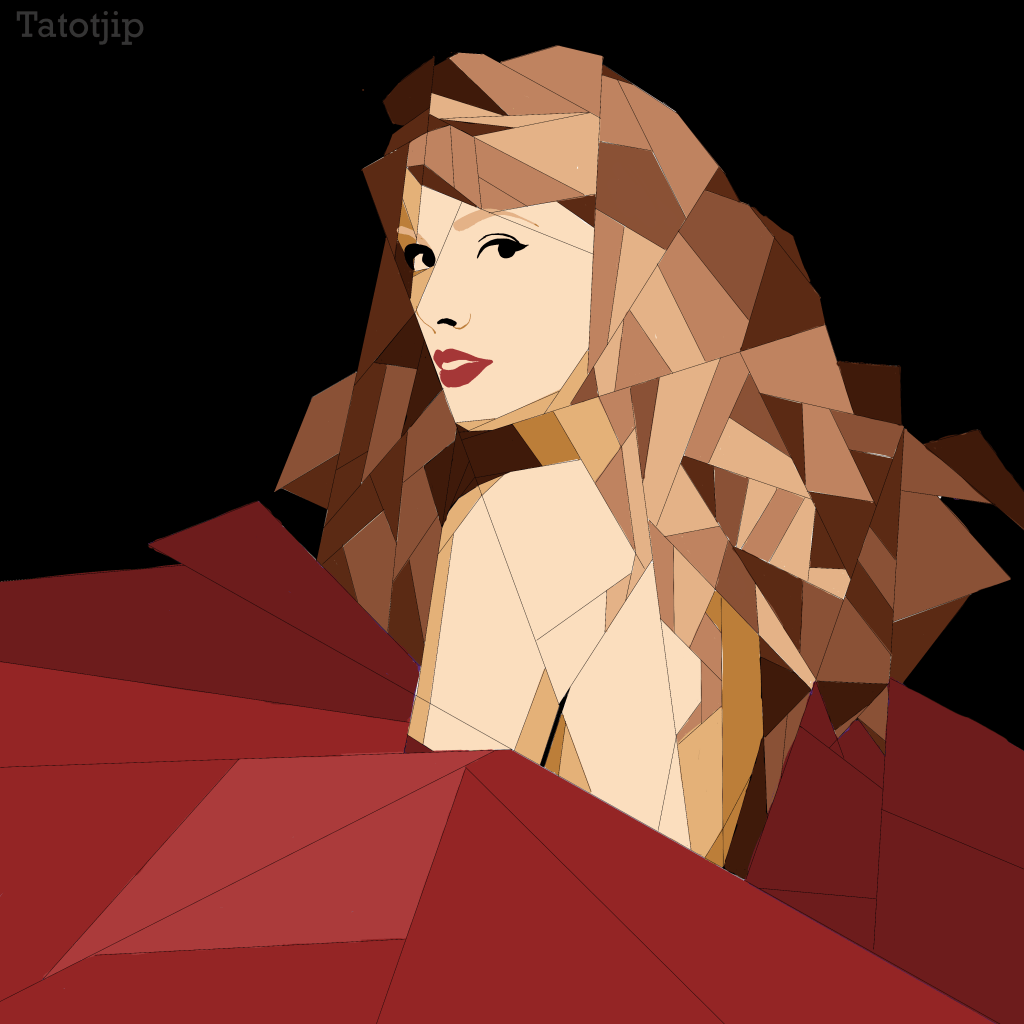
Also possible to do in red for a nod to Speak Now Deluxe! I worked with solids but I think the Moda Grunge collection would work beautifully for this quilt.
The pattern is filled with codes such as A3%, G2&, B6^ etc.
The first character represents the section using letters (this is also divided by red cutting lines)
The second character counts the order of piecing.
The third character represents the colors. They are kinda in order of keyboard characters so you can also translate them to 1234. I made a swatch card to not confuse colors with each other.
! Skin 1 (lightest)
@ Skin 2
# Skin 3 (Darkest)
$ Hair 1 (lightest)
% Hair 2
^ Hair 3
& Hair 4
* Hair 5 (darkest)
+ Dress 1 (lightest)
++ Dress 2
+++ Dress 3
B Black
Red for lips, black and # for nose, black for eyes and $ or % for eyebrows.
Order of piecing
The quilt consists of four blocks, divided by the pink cutting lines. Keep the blocks apart as I start the ABCs for each block. For each block, all the red lines can be cut to create the sections you’ll piece.


I try to pin as much as possible before sewing/pressing, so I’ll be transcribing these moments as ‘rounds’, after every round, sew and press. Obviously you don’t have to complete the round before sewing/pressing. If you decided to do all the sections at once, these rounds are parallel to each other for more efficiency.
Section 1
Round 1: C+A+B, D+E+F
Round 2: DEF+G
Round 3: DEFG+H
Round 4: ABC+DEFGH+I
Round 5: ABCDEFGHI+J
Round 6: ABCDEFGHIJ+K
Section 2
Round 1: A+B, C+D, F+G, H+I+J, M+N, O+P, Q+R, T+U
Round 2: AB+CD, FG+HIJ+K, MN+OP, QR+S
Round 3: ABCD+E, FGHIJK+L, QRS+TU
Round 4: FGHIJKL+MNOP
Round 5: ABCDE+FGHIJKLMNOP+QRSTU
Section 3
Round 1: A+B, C+D
Round 2: AB+CD
Section 4
Round 1: A+B
Round 2: AB+C
Round 3: ABC+D
Round 4: ABCD+E
Round 5: ABCDE+F
Final assembly
Round 1: 1+2
Round 2: 12+4
Round 3: 124+3
Lyrics quilting (FMQ)
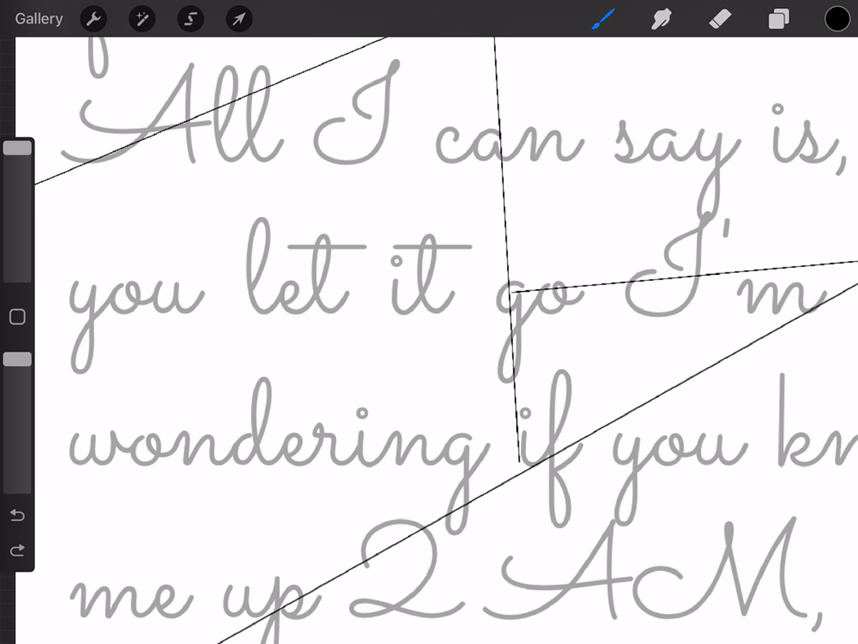
I show the full process of quilting the lyrics in my video if my explanation is too short or unclear. Using a lightbox, trace the lyrics onto the quilt top using a marker or pencil. Remove the paper and sandwich the quilt. I like to quilt lyrics ‘edge to edge’, connecting words with underscores and hopping to the next line via the edge or around Taylor. I did it with black thread for a subtle look, but white, yellow/gold, purple would work too.
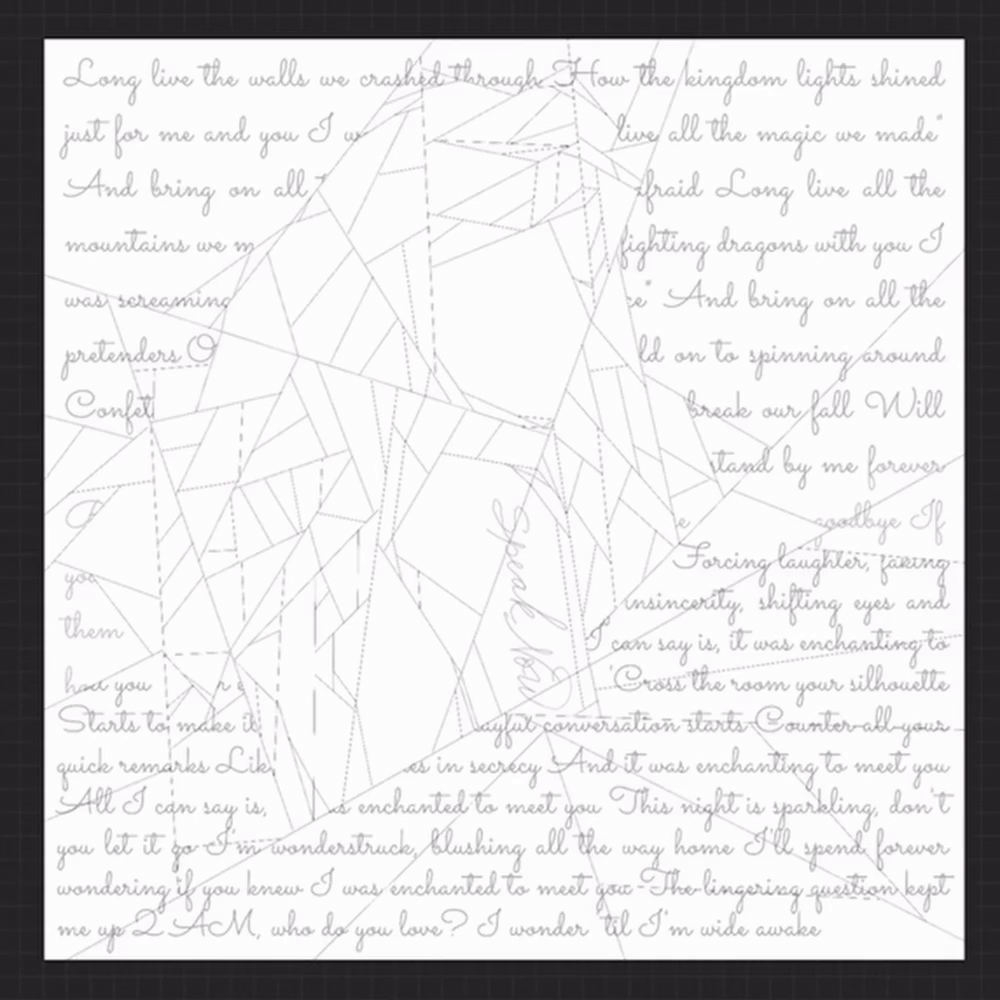
For the words itself, simply go over the traced letters, again, using underscores to connect the words. I personally left out the dots on the i’s as I planned to use beads to dot them, but you can also use embroidery or quilt it like the GIF below.
I used wavy lines to quilt her hair, and yellow binding with a decorative stitch to ‘frame’ the quilt like in Taylor’s ‘I Can See You’ music video.

End
Thank you for sticking around for another pattern! Hope you enjoyed this one. If you have questions, feel free to comment. Not sure what my next (TS) pattern will be and I can’t promise that this blog will be quilt patterns only, but the subscribe option is now available on the bottom right to get notified when I post something new. Are you making this quilt? Tag me on your socials with @tatotjip (IG, TikTok, YT) I also tend to follow the hashtag #taylorswiftquilt on IG and TikTok.
